
Kitchen Sink Without Replacing refers to the process of renovating or updating a kitchen without needing to install a new sink. This could involve various improvements such as refinishing, resealing, or repairing the existing sink, as well as making changes to other elements in the kitchen to enhance its overall appearance and functionality.
Curious about kitchen upgrades? Wondering if you can replace a kitchen sink without replacing the countertop? You’re not alone! Discover a budget-friendly solution to transform your kitchen by updating just the sink, leaving your countertop intact. Take the first step towards a refreshed kitchen today!
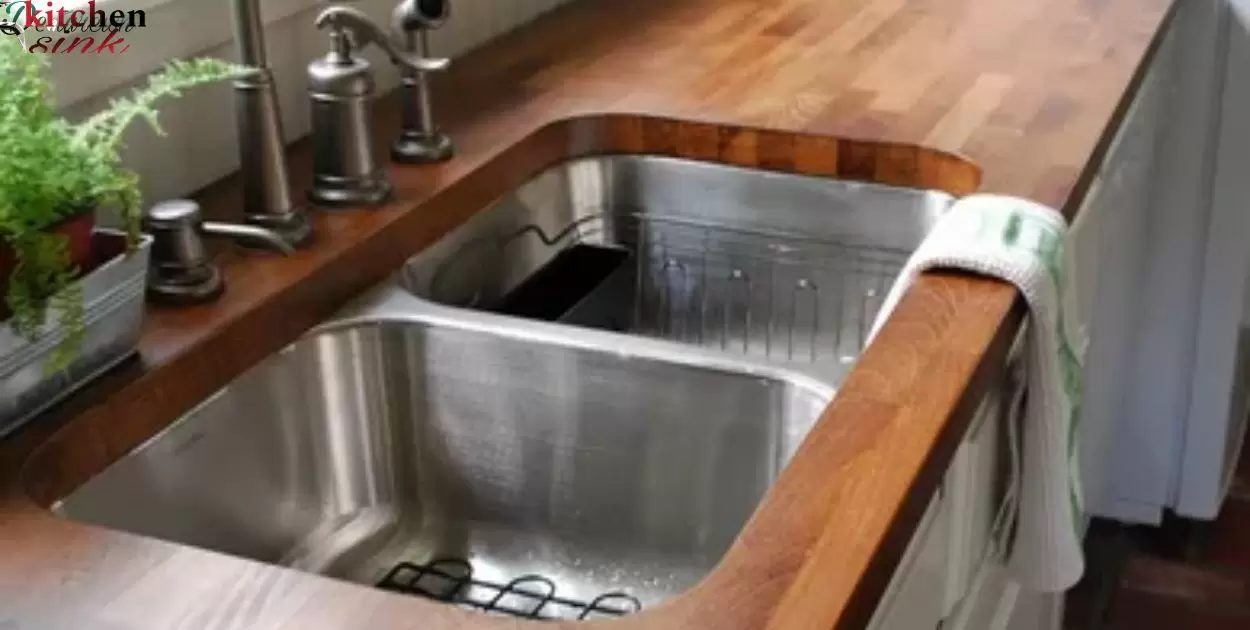
Certainly! You can update your kitchen sink without changing the countertop by ensuring the new sink fits the existing cutout. Simply remove the old sink, install the new one, and reseal it for a fresh look without major renovation.
Possible To Replace Just The Kitchen Sink
Replacing only the kitchen sink is a viable option for many homeowners. As long as the sink will fit within the existing space underneath the countertop, it can often be removed and a new sink installed without disturbing the countertop surface. Careful measurements are needed to confirm the new sink dimensions will work. With the right planning and preparation, swapping just the sink bowl and fixtures is quite possible in many kitchen remodel projects.
Rather than undertaking a whole new countertop, replacing the sink alone offers a simpler, cheaper solution when upgrades are desired. Most sinks mount beneath the countertop on supporting brackets. As long as the new sink can be securely attached using a similar setup, only the sink itself must be replaced. This allows for a refreshed new sink without the additional work and costs involved in total countertop replacement.
Options For Replacing A Kitchen Sink
There are generally two primary options when considering replacing a kitchen sink – keeping the existing countertop in place or modifying the countertop during sink installation. Replacing just the sink bowl, drain assembly and faucet while reusing the current countertop is the most common type of limited replacement project. Alternatively, opting for a sink that requires cutouts or changes to the counter area makes for a more involved process.
Beyond just swapping the sink or doing partial counter changes, a homeowner could choose to fully update with an entirely new countertop material if desired. But this represents a much larger, more costly scale of renovation. For many jobs, simply replacing the sink itself without counter changes gets the updated look desired within a more affordable budget and timeline. The scope of the project helps determine which replacement option is the best fit.
Sink Replacement Without Countertop Changes
Removing the old sink and installing a new drop-in or undermount replacement model are the defining steps of a sink replacement without countertop modification. Measurements must ensure the new sink will fit precisely into the existing cutout space. As long as the sink opening is not too large or small, most standard sink sizes can usually be installed below the current countertop edge.
Quick-connect fittings allow for simple disconnection and reattachment of the sink drain and supply lines. With careful preparation, the old sink is removed and new sink dropped into the cutout area. Silicone caulk around the rim adheres it securely in place. Once plumbing and testing are finished, the job is done without any counter surface changes needed.
Sink Installation That Requires Countertop Modification
| Type of Sink | Requirement | Process |
| Farmhouse | Larger opening needed | Cut countertop with oscillating tool to enlarge existing hole size for apron front sink |
| Integral overflow | Specified cutout dimensions | Remove section of countertop if measurements do not match sink specs then reinforce and reattach |
| Large composite | May not fit standard size | Partial counter removal allows custom sizing of sink cavity to specifications then refinishing |
| Vessel | Deep bowl needs access | Portion of countertop lip is cut away for sink mounting from below then sealed |
| Apron front | Trim hits counter edge | Surface is trimmed back slightly for sink flange to rest on countertop cleanly |
Signs It’s Time For A New Kitchen Sink
One indicator is visible scratches, chips or cracks in the enamel or composite finish of the sink bowl. Hard water deposits that won’t scrub away can also signal an old sink. Leaks developing at sink connections point to the need for replacement.
A worn or faded appearance after many years of use makes a sink seem dated. Stains that won’t come clean suggest porous finish damage below. Sinks from previous decades may be smaller, installed higher or lack conveniences like spray fixtures that are desired in a modern kitchen update.
Factors To Consider For Sink Replacement
5 easy short factors to consider for kitchen sink replacement
- Material – Decide between popular options like stainless steel, cast iron, fireclay or composite. Consider durability, maintenance needs and aesthetic.
- Size – Measure space to choose from common sizes or customize. Double or single bowl? Include drainboards or accessories as needed.
- Style – Select from modern rectangular, farmhouse apron front, vessel or other shapes. Pick a look that matches design style.
- Features – Think about needs like integrated or pull-down faucets, spray wand, disposal or other special functions.
- Budget – Get estimates to fit project costs for sink, faucet, installation supplies within planned spending limits. Allow extra for potential issues.
Determine If Your Kitchen Sink Can Be Removed Without Countertop Work

First, thoroughly examine the existing countertop for signs of damage, especially near the sink area. Cracks however minor could spread during sink removal. The surface needs to be solid with no deterioration underneath. Pay attention to any worn, weak or compromised spots on the counter.
Also look at how the sink currently mounts beneath the surface. Are there sturdy brackets and a strong, well-supported connection? Proper bracing is essential if the sink is load bearing. The area under where the sink will sit must ensure stable, even footing. Before attempting to pour bleach down the kitchen sink, check for any cracks or weaknesses that could cause issues further down the line. Reinforcement may be needed to safely install a new sink and use it as intended going forward.
Take precise measurements of the sink opening and cabinetry space to compare with replacement sink dimensions before deciding if a direct swap is feasible. Careful assessment helps avoid later complications from an unsuitable fit.
Checking The Condition Of Your Existing Countertop
Inspect the entire countertop closely with good lighting, looking for hairline fractures, chips, worn patches or stains that seep deeply into the material. Countertops undergo years of use and wear near the sink, so check especially well there. Run fingertips along all edges to detect any rough or crumbling spots.
Pay attention to the sink cutout border as well. Is the surface intact all around or are there deteriorated areas that risk further problems once the sink is removed? Small flaws could expand dramatically in the removal process if not in good condition.
If any damage is minor, etching or refinishing may work. But more severe problems indicate a partial or full countertop replacement would be better matched to a new sink installation. The surface needs to be sound for both processes.
Inspecting For Cracks, Chips Or Other Damage
Give the countertop a critical once over with a bright light and magnifying glass if needed. Run your fingernail along seams and edges looking for any cracks, not just visible to the naked eye. Apply pressure gently at different points to check surface resilience.
For laminate, damaged or de-laminated areas mean the countertop integrity is compromised. Natural stone chippage depends on size, but even hairline cracks require repair resin or they will expand. Solid surface cracks require professional evaluation of their structural impact.
Surface markings could indicate deeper wear to the base material as well. Use a putty knife to test if marks flake up high or just affect the surface finish. Dealing with underlying vulnerabilities is key for a seamless sink installation or replacement process.
Ensuring Proper Support Underneath
Check the kind of sub-surface structure used – whether your cabinets have a solid wood framework, engineered wood or other material. Ensure the existing sink area has plenty of cross beams, corner braces and support underneath for stability.
Inspect where sink mounts attached previously for strong, level anchoring points. Reinforcement may be needed if fasteners attached to edge or corner cabinets. Proper support prevents counter sagging when weight is removed.
Run a stud finder around the sink area to locate wall brace placement too. The proper substructure allows steady, even weight dispersal without deflection when a heavy sink is re-installed. Renovations stress existing structures, so reinforcement avoids later issues.
Evaluating The Overall Appearance
Stand back and look at the entire countertop with an objective eye. Notice wear patterns or differences in age, finish and condition in various spots compared to when it was new. Over time, materials naturally show more signs of use near high traffic areas like the sink and cooktop.
Consider the countertop style and how well it coordinates with the cabinetry, appliances and planned new sink selection. An outdated look or color mismatch could be remedied by pairing with more modern components. Harmonious style contributes to the kitchen’s overall aesthetic.
With an extensive update like replacing major fixtures, it may make sense to upgrade surface materials as well for a carefully coordinated final appearance when the project is complete. But it’s not always necessary if the existing countertop remains in good shape.
Know Before Removing An Old Kitchen Sink

Be prepared with the right tools before starting disconnection tasks. Gather a bucket, adjustable wrench, pliers, hacksaw or tubing cutter, channel locks or slip-joint pliers. Protective eyewear is wise when snipping metal or sawing. Switch off the main water supply valve for safety during plumbing removal.
Have replacement components ready to install once the old sink is out. This may include a new sink, drain and tailpiece assembly, trap fitting and water supply connectors. Measurements are critical to having proper replacement parts. Double check dimensions before detaching any fixtures.
Disconnecting Plumbing Connections
Shut off the water supply valve under the sink. This is typically a quarter-turn valve located where supply tubing meets water lines. Check by turning on the facet slowly to allow trapped water to drain out safely.
Loosen all nut connections holding supply tubes to the sink drain assembly. An adjustable wrench works best here. Separate the pop-up stopper rod from the drain if present. Discard old plumber’s putty left on sink rim.
Use a hacksaw or tubing cutter to slice through steel drain, trap and supply tubes where they meet fittings. Adjust cut depth for a clean detach suitable for refitting new parts later.
Turning Off The Water Supply
The main water shut-off valve is often a door beneath the kitchen sink but check your home’s location. Give the lever a full quarter turn in the off direction.
Test by running any faucets above briefly until pipes are emptied. Shut off is important because even drained systems have pressure that could spray when cut. Wear safety goggles during disconnection.
With pipes depressurized, the job site is safe. Now old parts can be unfastened without risk of flooding while you work underneath the sink area.
Removing Traps And Drain Lines
Grip the drain trap arm near the sink connection with channel locks. Twist to break the slip joint before pulling it away.
Clear any debris in the disposal flange if present before removing mounting ring screws. Lift out the old disposal unit once free.
Pull straight down gently on trap and horizontal drain tailpiece until detached from underside knockout fitting. Leave in place for now.
Retrieve the P-trap assembly connected below. Disconnect by loosening slip nuts with pliers and sliding pieces off one by one.
Detaching Hot And Cold Water Supply Lines
Twist supply line connector nuts at each fixture joint counterclockwise using pliers until separated. Mark hoses for alignment during reinstall.
Completely free supply tubes by sliding them out from under the sink. Wiggle gently for fittings partially fused inside.
With plumbing fixtures disconnected, the old sink can now be removed by lifting from below. Clean grit from walls, countertop and cabinet surfaces.
Installing A New Kitchen Sink Without The Countertop
Drop-in sinks are a common replacement option that maintains the existing countertop edge. Measure carefully for size before purchasing.
Apply a bead of fresh silicone caulk to the underside rim where it will sit on the counter. Center and press the new sink carefully into place.
Attach mounting brackets using proper anchors as directed. Tighten down evenly with washers beneath.
Selecting A Drop-In Or Undermount Replacement Sink
Drop-in sinks rest on the countertop surface and seal with caulk. Undermount sinks require partial counter removal for precise sink rim installation underneath.
Consider the material, size and style that matches your needs and décor. Stainless steel is durable while fireclay and cast iron offer vintage charm.
Shop models rated for your countertop material like concrete, granite or quartz to ensure a long-lasting bond underneath.
Measurements For Proper Fit
Take overall sink dimensions plus depth below counter. Note faucet hole locations and confirm clearance where supply lines enter cabinets underneath as well.
Carefully measure the existing sink cutout opening width and length plus surrounding counter thickness. Compare specifics to potential replacement sink specs before selecting.
A proper fitting replacement needs accurate dimensions to drop right in without touchups to the countertop area. Double check figures beforehand.
Necessary Clearances Below The Countertop
New sinks require adequate space below for plumbing, kneespace and cleaning. Minimums vary but often 12-18 inches is needed.
Check clearance between sink rim and overhead cabinets. Undermounts have limited space that must accommodate supply lines bent up towards fixtures as well.
Note locations of wall or floor supports and ensure ample access all around for trap and supply tube installations later. Proper planning guides smooth installation.
Frequently Asked Question
Do You Have To Replace Countertop When Replacing Sink?
No, you don’t necessarily have to replace the countertop when replacing the sink. It depends on the condition of the countertop and whether it fits the new sink’s dimensions and style.
Can You Install A New Sink In Existing Granite Countertop?
Yes, it’s possible to install a new sink in an existing granite countertop by hiring a professional with experience in countertop modifications.
Can You Replace Kitchen Faucet Without Replacing Countertop?
Yes, you can replace a kitchen faucet without replacing the countertop. Simply remove the old faucet and install the new one following standard procedures.
Is It Difficult To Replace A Kitchen Sink?
Replacing a kitchen sink can be moderately challenging for beginners due to plumbing and installation intricacies. However, with proper guidance and tools, it can be accomplished successfully.
Conclusion
Replacing a kitchen sink without replacing the countertop is indeed feasible in many cases. With careful planning, proper tools, and some DIY skills, homeowners can often achieve this task without the need for a complete countertop overhaul. However, it’s essential to assess the condition of the existing countertop and ensure compatibility with the new sink to achieve a seamless installation process.
Overall, while it may pose some challenges, replacing a kitchen sink without replacing the countertop is a viable option for those seeking a budget-friendly upgrade or simply wishing to refresh their kitchen’s look. By following step-by-step instructions and seeking assistance if needed, homeowners can successfully complete this project and enjoy a renewed kitchen space without the added expense of replacing the entire countertop.