
Painting a kitchen sink can transform an old, worn sink into something that looks brand new. It is a relatively easy do-it-yourself project that does not require special skills. Preparing the sink surface properly before painting is the most important step to ensure the paint adheres correctly and lasts.
“How To Paint A Kitchen Sink?” is a common question for those looking to update their kitchen on a budget. Painting the existing sink offers a cheap alternative to replacing it. With some supplies from the hardware store, you can give your sink a fresh new look in just an afternoon.
Painting a kitchen sink involves cleaning, scuffing, taping off, applying primer and paint, and finally protecting the finish. Proper preparation is key – any grease or soap residue left on the surface will cause the paint to peel. Sanding creates an abrasion for the paint to grip. Finish by applying a clear sealer to protect the painted surface from daily wear and tear.
Why Should You Paint Your Kitchen Sink?
Painting your kitchen sink can provide several benefits. It allows you to update the look of your kitchen by changing the color and finish of the sink without the high cost of full replacement. Painting also protects worn surfaces from further damage. Materials like porcelain enamel can start to show chips and scratches over time from heavy use. Applying a fresh coat of paint provides a protective barrier.
benefits of painting a kitchen sink
5 benefits of painting a kitchen sink:
- Cost-effective update. Painting is an affordable way to update the look of an old sink. It’s much cheaper than installing a new sink.
- Easy makeover. Paint goes on easily and dries quickly, allowing you to transform the sink in less than a day.
- Customization. Paint opens up lots of possibilities for customizing your sink to match your kitchen decor.
- Protects sink surface. Paint forms a protective barrier that seals and preserves the underlying sink material.
- Boosts resale value. A freshly painted sink makes the kitchen look new and updated, potentially boosting resale value of the home.
The article mentions that properly preparing the surface and using the right type of durable paint formulated for sinks are important for getting great results. But when done properly, painting a sink can provide an easy and dramatic upgrade.
kitchen sink materials can be painted
Most common kitchen sink materials like stainless steel, porcelain, enamel, cast iron, and fireclay can be prepared and painted. For materials like plastic and fiberglass, check if the surface can be properly prepared for painting first. Ensure proper prep like cleaning and sanding so the paint adheres correctly.
worth the effort to paint a kitchen sink
Painting a kitchen sink is generally worth the effort. Proper preparation is the most important step, but the painting itself can be completed in an afternoon. For a few hours of work and less than $100 in supplies, you can give your kitchen sink and cabinets a whole new cohesive look. Much more affordable than a full replacement.
How long will a painted kitchen sink last?
With proper surface preparation and application of a clear protective top coat, a painted kitchen sink can last 3-5 years or more under normal use before needing touch ups. Using high quality paint formulated for sinks, combined with cleaning only with non-abrasive products, maximizes the lifespan of the painted finish.
What Supplies Do You Need To Paint A Kitchen Sink?
To paint a kitchen sink, you need sandpaper (120-220 grit), painter’s tape, acetone or denatured alcohol for cleaning, primer specifically for metal surfaces, acrylic enamel paint made for metal and appliances, foam brushes and rollers, and polyurethane as a protective top coat. You may also need an electric sander for smoothing and preparing the surface.
types of paint work best for a kitchen sink
The best types of paint for a kitchen sink are acrylic enamel spray paints and epoxy-based paints, which provide maximum adhesion and a durable, scratch-resistant finish that stands up well to water, heat, cleaning products and heavy use.
sandpaper grit should be used to prepare a kitchen sink
You should use 120-220 grit sandpaper to scuff up and prepare a kitchen sink surface before painting. This roughens up the existing surface for better paint adhesion without scratching too deeply.
tools are needed to paint a kitchen sink
The tools needed to paint a kitchen sink include sandpaper or an electric sander, painter’s tape, acetone/alcohol, tack cloth, foam rollers and brushes, paint trays, and stir sticks for mixing the paint. You may also need a paint sprayer if using spray paint.
safety gear should you use when painting a kitchen sink
When painting a kitchen sink, you should use safety gear like gloves, eye protection, an organic vapor respirator, and adequate ventilation by opening windows or using fans. You want to avoid inhaling paint fumes or getting chemicals on your skin or in your eyes. Work in a well-ventilated area.
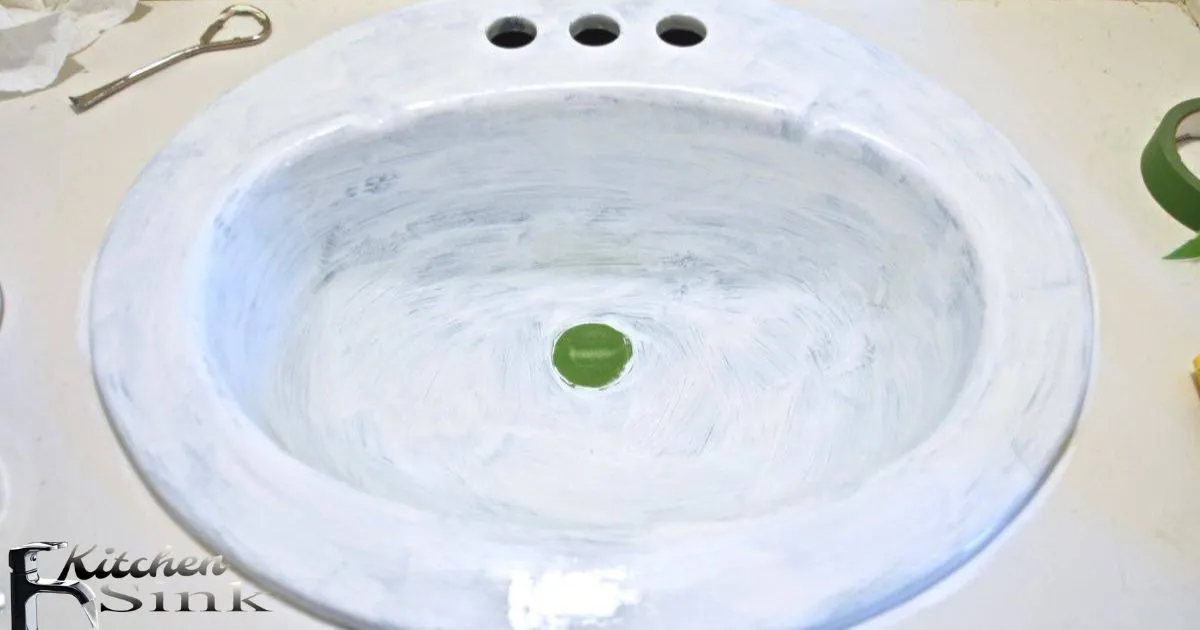
How To Properly Prepare Your Kitchen Sink For Painting
Thoroughly clean the sink with dish soap and water to remove any grease, dirt or debris. Use a plastic scrub pad if needed to remove stubborn stains. Wipe the sink completely dry with a clean cloth. Remove any old caulk around the sink with a caulk removal tool. Lightly sand the entire sink surface with 150-220 grit sandpaper to rough up and degloss the surface for better paint adhesion. Wipe away all dust with a damp cloth when finished sanding.
clean a kitchen sink before painting
To thoroughly clean a kitchen sink before painting, wash it with dish soap and warm water using a sponge or plastic scrub pad to remove any grease, dirt, food, stains or soap scum. Rinse thoroughly then wipe completely dry with a clean lint-free cloth. This removes any contaminants that could interfere with paint adhesion.
sanding a kitchen sink important before painting
Sanding the sink before painting is important because it roughs up and deglosses the smooth surface so the paint can grip better. This allows for optimal adhesion of the primer and paint to the sink surface. Proper prep work like sanding helps the paint last longer without chipping or peeling.
What should you tape off when painting a kitchen sink?
When painting a kitchen sink, tape off the countertops, cabinets and walls around the sink using painter’s tape to protect those surfaces from drips, splatters or overspray. Place plastic drop cloths over the floor under and around the sink. Also tape off the faucet fixtures, strainers, stopper and any accessories to keep paint off those components.
coats of primer should you apply on a kitchen sink
Most recommendations advise applying 2-3 thin, even coats of high quality primer meant for metal surfaces when painting a kitchen sink. Allow each coat to fully dry between applications. The primer creates a surface for the paint to adhere to. Multiple coats ensure complete, even coverage so no bare metal shows through the finished paint job.
What Is The Process For Painting A Kitchen Sink?
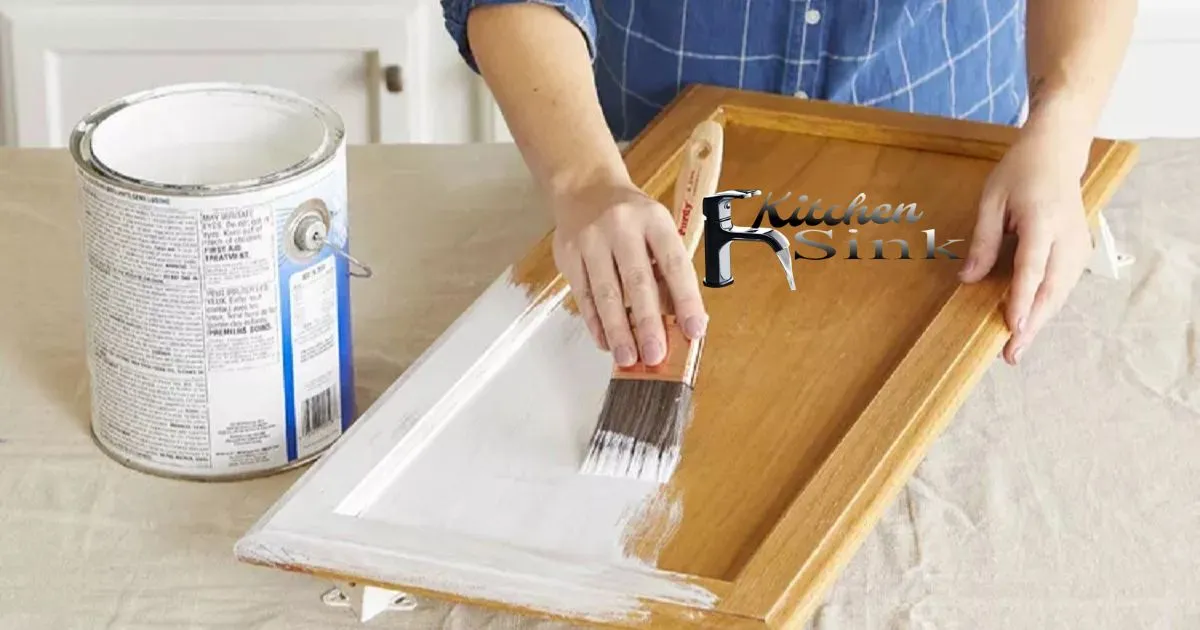
The process begins with thoroughly cleaning and sanding the sink to remove any oils, soap scum, or rust. Next, apply painter’s tape to mask off areas you don’t want painted. Then apply a coat of primer formulated for metal or porcelain sinks, allowing it to fully dry. Finally, apply two coats of acrylic, epoxy, or oil-based enamel paint designed for sinks, letting each coat dry completely before adding the next.
Painting Techniques Work Best For Kitchen Sinks
Spray painting generally works best for painting sinks as it allows you to apply thin, even coats without drips. Use light coats, holding the can 6-8 inches away. Alternatively, use a high density foam roller or soft brush for enamels. Take care when brush painting not to apply the paint too thickly or unevenly.
How Long Should You Let Paint Dry Between Coats On A Kitchen Sink?
Most sink paints require at least 24 hours drying time between coats. Check the manufacturer’s recommendations, as some may require up to 72 hours between coats. Ensure the first coat is fully cured before adding an additional coat. Adding coats too soon can cause bubbling, cracking, or peeling.
What Areas Of A Kitchen Sink Are Most Prone To Paint Problems?
5 common areas of a kitchen sink prone to paint problems in easy, short sentences:
- Scratches happen on sink bottom. Pots and pans can scrape paint when placed carelessly.
- Chips occur along sink edges. Dropping heavy items causes paint to crack and peel.
- Discoloring develops on surfaces. Spills of acidic foods can stain and eat at paint over time.
- Cracking shows around drains. Movement from water and debris strains paint bonds.
- Peeling happens under faucets. Dripping water loosens paint adhesion causing shedding.
Avoid Common Paint Defects When Painting A Kitchen Sink
Ensuring proper surface prep, using compatible primer and paints designed for sinks, allowing for adequate dry times between coats, and applying thin even layers of paint will help avoid common defects like chipping, bubbling, cracking, or peeling. Proper prep work and patience in following all product instructions are key for a long-lasting paint job.
How To Protect and Maintain A Newly Painted Kitchen Sink
| Step | Description |
| 1 | Apply clear acrylic sealer. Put on 2-3 thin coats. Let each coat dry fully before adding the next. |
| 2 | Use the sink bottom grid. This protects from scratches. |
| 3 | Clean gently. Use mild dish soap and soft sponges or cloths. |
| 4 | Avoid harsh cleaners. These can damage the painted finish. |
| 5 | Check for paint chips over time. Touch up paint as needed. |
| 6 | Reapply protective sealer every 1-2 years. This maintains the finish. |
The table summarizes the key steps to protect and care for a newly painted kitchen sink. Following these simple guidelines will help the painted finish last longer and keep the sink looking great. Let me know if you need any clarification or have additional questions!
clear coat sealers work best on painted kitchen sinks
Acrylic sealers specially formulated for kitchen and bath provide the best protection for a painted sink. They resist moisture, stains, and abrasion. Rust-Oleum and Krylon are reputable brands that make durable acrylic clear coat sealers for sinks. Allow each coat to dry 24 hours before regular use of the sink.
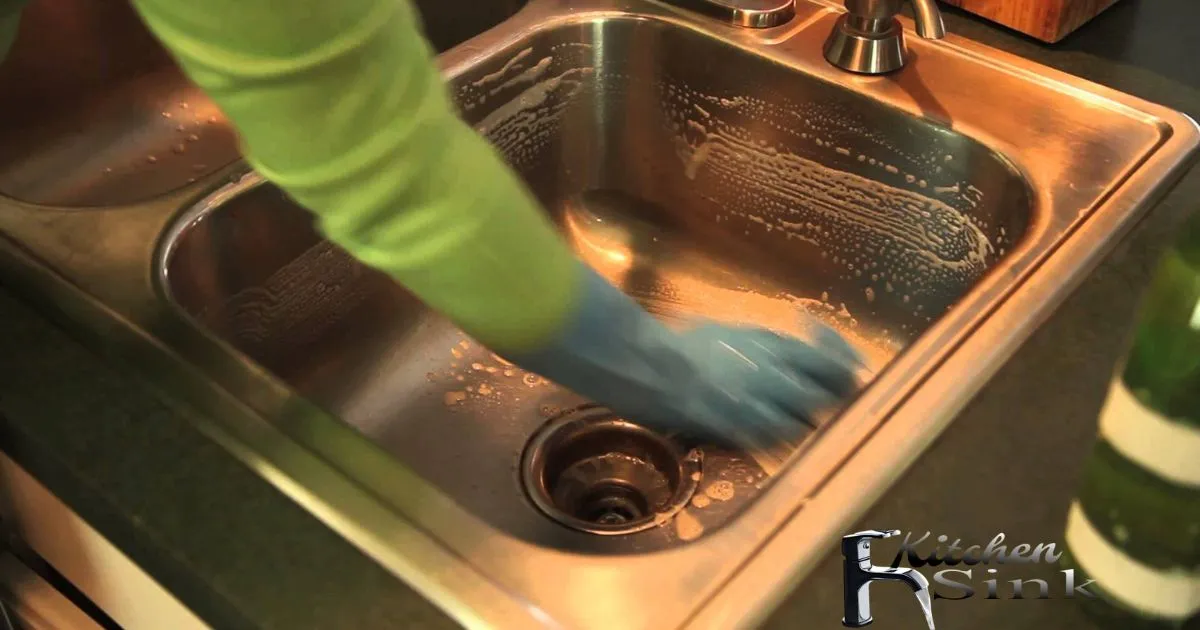
cleaners are safe for use on painted kitchen sinks
Avoid harsh cleaners like bleach, ammonia, and abrasive scrubs on a painted sink as they can damage the finish over time. For regular cleaning, use a mild dish soap and soft sponge or cloth. Baking soda and vinegar also work well. Rinse thoroughly after cleaning and avoid leaving wet sponges sitting in the sink.
prevent scratches and chips on a painted kitchen sink
Always use the sink bottom grid to protect the painted surface from pots, pans and utensils that could scratch it. Take care not to drop heavy objects in the sink. Wipe spills promptly as acidic foods can damage the paint if left to sit. Reapply sealer every 1-2 years to maintain protection from surface damage over time.
The durability of the paint depends on the quality of preparation and product used. With proper care, a painted kitchen sink may need re-painting every 3-5 years. Touch up any chips as needed to maintain the finish.
Frequently Asked Question
What kind of paint should I use to paint a kitchen sink?
Use high quality enamel spray paint made specifically for metal surfaces like sinks and appliances.
How do I prepare my sink for painting?
Thoroughly clean, sand, and prime the sink before painting to help the paint adhere properly.
Should I remove the faucet and hardware before painting my sink?
Yes, remove everything attached to the sink like faucets, drains, and stoppers before starting.
How many coats of paint do I need on my kitchen sink?
Typically 2-3 thin, even coats with proper drying time in between creates a durable finish.
What can I do to protect the paint on my kitchen sink?
Applying a clear acrylic sealer helps protect the painted finish from scratches, chips and wear.
Conclusion
Painting a kitchen sink can update the look of your space. With some simple preparation, you can paint a kitchen sink yourself. First, clean and sand the sink to help the paint stick. Next, apply 2-3 coats of enamel or epoxy paint made for sinks. Allow each coat to dry fully. Finally, seal the paint with a clear acrylic sealer. This protects the finish.
Maintain your painted sink by using mild cleaners and soft cloths. Check for chips in the paint over time. Touch up paint as needed. With proper prep and care, a painted kitchen sink can last 3-5 years before needing repainting. Painting your sink breathes new life into your kitchen. The transformation is easy to do yourself following basic steps.