
Learn the basics of connecting pipes and fittings to ensure proper drainage for a double kitchen sink. Follow a step-by-step guide to efficiently plumb both sink bowls for optimal functionality in your kitchen. Master the essential techniques for a seamless plumbing installation process.
Choosing The Right Kitchen Sink For Plumbing
Installing a new kitchen sink can be an exciting but daunting task. With various options available, it’s essential to choose the right one that not only suits your aesthetic preferences but also aligns with your plumbing needs. Let’s delve into the considerations for selecting the perfect kitchen sink for your plumbing setup.
What Type Of Kitchen Sink Should I Install?
When deciding on a kitchen sink, the first consideration is the type. There are several options available, including:
Single Bowl Or Double Bowl Kitchen Sink
Single Bowl Sink: Ideal for smaller kitchens or for those who prefer simplicity. It offers ample space for washing larger pots and pans.
Double Bowl Sink: Perfect for multitasking and separating tasks such as washing dishes and rinsing vegetables. It provides versatility in kitchen chores.
Stainless Steel Or Ceramic Kitchen Sink
Stainless Steel Sink:
- Durability: Resistant to stains, rust, and corrosion, making it a long-lasting option.
- Easy Maintenance: Simple to clean with just soap and water, and it retains its shine for years.
- Affordability: Generally more budget-friendly compared to other materials.
Ceramic Sink:
- Elegance: Adds a touch of sophistication to the kitchen with its classic and timeless appearance.
- Heat Resistance: Handles high temperatures well, making it suitable for placing hot pots and pans directly.
- Variety: Available in various colors and designs to complement different kitchen styles.
Undermount Or Farmhouse Kitchen Sink Style
Undermount Sink:
- Sleek Appearance: Mounts underneath the countertop, creating a seamless look and easy countertop cleanup.
- Space-saving: Maximizes counter space and provides a clean and modern aesthetic.
- Installation Considerations: Requires professional installation due to the need for secure mounting to the countertop.
Farmhouse Sink:
- Traditional Charm: Adds a rustic and charming vibe to the kitchen with its exposed front panel.
- Generous Depth: Provides ample space for larger pots and pans, making it ideal for avid cooks.
- Installation Requirements: May necessitate custom cabinetry and careful planning due to its size and weight.
Sink Dimensions – What Size Is Best For My Kitchen
When determining the size of your kitchen sink, consider the following factors:
- Kitchen Layout: Ensure the sink fits seamlessly within your kitchen’s layout without overcrowding or underutilizing space.
- Usage Needs: Assess your daily kitchen activities to determine the appropriate size for washing, rinsing, and food preparation.
- Cabinet Compatibility: Measure the available cabinet space to ensure the chosen sink dimensions fit comfortably.
Preparing Your Kitchen for the New Sink Plumbing
Before diving into the installation process, it’s crucial to prepare your kitchen space adequately:
Prepare My Cabinet Space For The New Kitchen Sink
- Clear Out: Remove any items stored in the cabinet under the sink to create ample workspace.
- Inspect Cabinet Condition: Check for any signs of water damage or leaks that may require repair before installing the new sink.
- Adjust Shelving: If necessary, adjust or remove cabinet shelving to accommodate the sink’s height and plumbing components.
Cabinet Layout Support A Double Kitchen Sink
- Assess Cabinet Strength: Ensure the cabinet structure can support the weight of a double sink and withstand the added pressure of plumbing fixtures.
- Consider Reinforcement: If the cabinet seems flimsy or weak, reinforce it with additional supports or braces to prevent sagging or damage over time.
In the next section, Measure For Kitchen Sink we’ll explore the practical steps involved in removing the old kitchen sink and preparing for the installation of the new one, including necessary tools and precautions to take.
Stay tuned for the continuation of our guide on selecting and installing the perfect kitchen sink for your plumbing needs!
Need To Remove My Old Kitchen Sink First
Before installing a new kitchen sink, it’s essential to remove the old one. Here’s how to tackle this step:
- Turn Off Water Supply: Locate the shut-off valves under the sink and turn off the water supply to prevent any leaks during the removal process.
- Disconnect Plumbing Connections: Use a wrench to loosen and disconnect the nuts securing the P-trap and drain pipes. Have a bucket ready to catch any remaining water.
- Detach Sink From Countertop: If the sink is mounted on top of the countertop, use a utility knife to cut through any caulking or adhesive sealing the sink to the countertop. Carefully lift the sink out of its position.
Tools Will I Need For The Kitchen Sink Plumbing Project
Gather the following tools and materials before starting the kitchen sink installation:
- Adjustable wrench
- Pipe wrench
- Screwdriver
- Utility knife
- Plumber’s putty or silicone caulking
- Tape measure
- Bucket
- Safety goggles and gloves
These basic tools will help you navigate the installation process smoothly and efficiently.
Protect My Kitchen Counters During Installation
To safeguard your kitchen countertops during the installation process, follow these precautions:
- Use Protective Coverings: Lay down old towels or cardboard to create a protective barrier between the countertop and any tools or materials.
- Avoid Scratching: Be mindful when handling heavy or sharp objects to prevent scratching or damaging the countertop surface.
- Clean Up Spills Promptly: In case of any spills or drips, wipe them up immediately to prevent stains or water damage to the countertop material.
Taking these measures will help preserve the integrity of your kitchen countertops throughout the installation process.
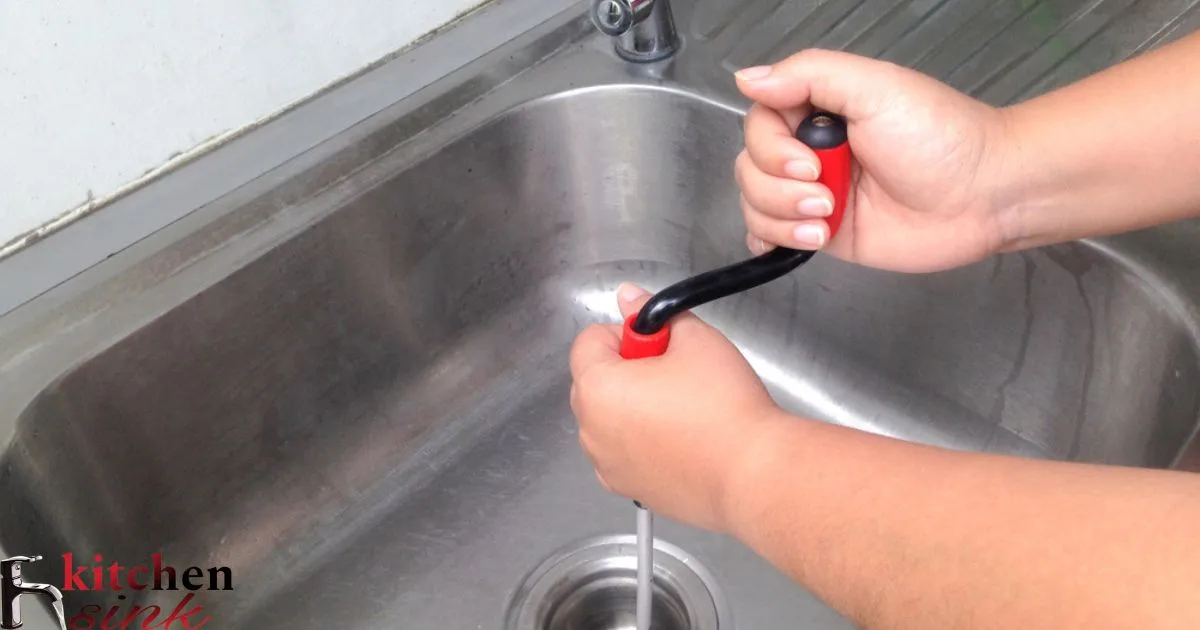
Installing the Drain Pipes and Traps for the Kitchen Sink
Now that you’ve prepared your kitchen space and gathered the necessary tools, it’s time to install the drain pipes and traps for the new kitchen sink:
Connect The Drain Pipes To The Kitchen Sink
- Assemble Components: Lay out all the drain pipes and fittings to ensure you have everything needed for the installation.
- Follow Manufacturer Instructions: Refer to the manufacturer’s instructions for specific guidance on assembling and connecting the drain pipes.
- Ensure Proper Alignment: Double-check that the pipes are aligned correctly and securely connected to prevent leaks.
Type Of P-Trap Fits My New Double Kitchen Sink Drain
- Consider Space Constraints: Measure the available space under the sink to determine the appropriate size and configuration of the P-trap.
- Choose Quality Materials: Opt for a durable and corrosion-resistant P-trap made of materials such as PVC or ABS.
- Seek Professional Advice if Unsure: If you’re unsure about which P-trap is best suited for your sink, consult with a plumbing professional for guidance.
In the next section, we’ll discuss how to measure and cut the drain pipes for a proper fit and address common concerns related to tightening slip joints.
Continue reading to learn more about the essential steps in completing your kitchen sink plumbing project successfully!
Measure And Cut The Drain Pipes For Proper Fit
Accurate measurement and cutting of drain pipes are crucial for ensuring a leak-free plumbing system. Here’s how to do it effectively:
- Measure Twice, Cut Once: Use a tape measure to determine the required length of each drain pipe segment, ensuring precise measurements.
- Mark Cutting Points: Use a marker or pencil to mark the cutting points on the pipes based on your measurements.
- Cut with Care: Use a hacksaw or pipe cutter to cut the pipes at the marked points, ensuring straight and clean cuts.
- Deburr the Edges: After cutting, use a file or sandpaper to remove any burrs or rough edges from the cut pipes to ensure a smooth fit.
Following these steps will help you achieve properly sized drain pipes that fit snugly and securely within your kitchen sink plumbing system.
Tight Should I Hand-Tighten The Slip Joints
Proper tightening of slip joints is essential for preventing leaks in your kitchen sink plumbing. Here are some tips for achieving the right level of tightness:
- Hand-Tighten First: Begin by hand-tightening the slip joints until snug, ensuring a firm but not overly tight connection.
- Use a Wrench for Final Tightening: Once hand-tightened, use an adjustable wrench to give the slip joints an additional quarter to half turn to secure them fully.
- Avoid Over-Tightening: Be cautious not to over-tighten the slip joints, as this can damage the fittings or cause leaks. Use moderate pressure and stop tightening once resistance is felt.
Achieving the correct level of tightness in slip joints will help maintain a secure and leak-free connection in your kitchen sink plumbing system.
In the subsequent sections, we’ll explore the process of connecting water supply lines to the kitchen sink faucets, selecting the appropriate faucet style, and flushing out debris from new supply lines. Stay tuned for valuable insights and practical tips to complete your kitchen sink plumbing project with confidence!
Connecting the Water Supply Lines to the Kitchen Sink Faucets
Connecting the water supply lines is a crucial step in completing your kitchen sink plumbing project. Here’s how to do it:
Faucet Style Works Best For My New Double Kitchen Sink
- Consider Functionality: Choose a faucet style that complements your kitchen decor while also providing the functionality you need. Options include single-handle, double-handle, pull-down, and pull-out faucets.
- Factor in Space: Ensure the faucet style you choose fits comfortably within the space between the two sink basins without obstructing access or causing splashing.
- Look for Quality: Invest in a high-quality faucet with durable construction and reliable performance to ensure long-term satisfaction and minimal maintenance.
Connect And Secure Braided Stainless Steel Supply Lines
- Prepare the Supply Lines: Inspect the braided stainless steel supply lines for any damage or defects before installation.
- Thread Connections: Thread one end of each supply line onto the corresponding inlet port of the faucet, ensuring a tight but not overly tightened connection.
- Secure with Wrench: Use an adjustable wrench to secure the connections, ensuring they are snug and leak-free without over-tightening.
Flush Out Debris From New Supply Lines
- Turn Off Water Supply: Shut off the water supply to the faucet before flushing out the supply lines to prevent any water from flowing.
- Remove Aerator: Unscrew and remove the aerator from the faucet to allow unrestricted water flow during flushing.
- Flush with Water: Turn on the water supply briefly to flush out any debris or sediment from the supply lines. Run the water until it flows clear and free of any particles.
- Reinstall Aerator: Once the supply lines are flushed, reinstall the aerator onto the faucet and ensure it is securely tightened.
Taking these steps will help ensure clean and debris-free supply lines, which are essential for optimal performance and longevity of your kitchen sink plumbing system.
Confirm No Leaks After Turning The Water Back On
After connecting the water supply lines and turning the water back on, it’s crucial to check for any leaks to ensure a properly functioning plumbing system:
- Inspect Connections: Carefully examine all connections, including those between the supply lines and faucet, as well as the connections to the shut-off valves.
- Check for Drips: Look for any signs of water dripping or pooling around the connections, indicating a potential leak.
- Use Tissue Test: Place a tissue or paper towel around the connections and joints and leave it in place for a few minutes. If the tissue remains dry, it indicates no leaks.
If you detect any leaks during the inspection, promptly tighten the affected connections or replace any faulty components to resolve the issue.
In the following sections, we’ll cover the finishing touches of your kitchen sink plumbing project, including cleaning and protecting your new sink surfaces and essential maintenance tips for long-term functionality. Stay tuned for valuable insights to complete your project with confidence and ensure years of trouble-free use!
Finishing Touches And Testing The New Kitchen Sink Plumbing
As you near the completion of your kitchen sink plumbing project, it’s time to add the finishing touches and ensure everything is functioning as it should:
Else Do I Need To Do Before Using My New Kitchen Sink
- Reconnect Appliances: If you disconnected any appliances such as a dishwasher or garbage disposal during the installation process, now is the time to reconnect them.
- Check for Proper Functionality: Test the functionality of the sink by running both hot and cold water from the faucet and observing the drainage of each basin.
- Inspect for Leaks: Once water is flowing, carefully inspect all connections and joints for any signs of leaks, drips, or moisture accumulation.
Clean And Protect My New Kitchen Sink Surfaces
- Use Gentle Cleaners: Clean the sink surfaces with mild soap and warm water, avoiding harsh abrasives or abrasive cleaning pads that could scratch or damage the finish.
- Prevent Mineral Buildup: Periodically remove mineral deposits and water spots by cleaning the sink with a mixture of equal parts water and vinegar.
- Apply Protective Coating: Consider applying a protective coating or sealant to the sink surfaces to help prevent stains and maintain a lustrous finish over time.
Look Out For During The First Uses
- Monitor Drainage: Pay attention to the drainage of the sink and ensure water flows smoothly without any sluggishness or backups.
- Check for Odors: Keep an eye (and nose) out for any unpleasant odors emanating from the sink, which could indicate a potential drainage issue or bacterial buildup.
- Address Any Concerns Promptly: If you notice any issues or concerns during the initial uses of your new kitchen sink, address them promptly to prevent further complications or damage.
Consider Calling A Professional Plumber
While many homeowners can successfully complete a kitchen sink plumbing project themselves, there are instances where it may be wise to seek professional assistance:
- Complex Installations: If your plumbing setup is particularly intricate or involves significant modifications to existing plumbing lines, it may be best to enlist the help of a professional plumber.
- Persistent Leaks: If you encounter persistent leaks or drainage issues despite your best efforts to resolve them, a plumber can diagnose and repair the underlying problem.
- Safety Concerns: If you’re unsure about any aspect of the installation process or have concerns about your ability to safely complete the project, it’s better to err on the side of caution and seek professional help.
Double Kitchen Sink Setup Function Efficiently
A well-installed double kitchen sink setup offers numerous benefits in terms of functionality and convenience:
- Enhanced Workflow: With separate basins, you can designate one side for washing dishes and the other for food preparation, allowing for efficient multitasking in the kitchen.
- Improved Organization: Keep dirty dishes on one side while maintaining a clear workspace on the other, helping to streamline your kitchen routine and reduce clutter.
- Versatile Usage: The versatility of a double sink setup accommodates various kitchen tasks, from washing large pots and pans to rinsing fruits and vegetables with ease.
By following the steps outlined in this guide and investing time and effort into proper installation and maintenance, your double kitchen sink setup will function efficiently and effectively for years to come.
Stay tuned for more insightful content and practical tips to help you navigate the world of home improvement and plumbing projects with confidence and success!
Frequently Asked Question
How Do You Hook Up Plumbing For A Double Sink?
To hook up plumbing for a double sink, connect both drains to the main drain line using P-traps and Y-fittings. Ensure proper alignment and secure connections to prevent leaks.
Does A Double Sink Need Two P Traps?
Yes, each drain in a double sink typically requires its own P-trap to prevent odors and sewer gasses from entering the house.
How Do You Fit A Double Sink In A Kitchen?
To fit a double sink in a kitchen, measure the available space accurately and ensure proper plumbing connections for both sinks. Professional installation may be necessary for complex setups.
How Do You Connect Two Sinks To One Drain?
To connect two sinks to one drain, use a double sink kit with a Y-fitting to merge the drain pipes from both sinks into a single pipe leading to the main drain line.
Conclusion
Learning how to plumb a double kitchen sink can streamline your daily tasks and enhance the functionality of your kitchen. By following simple steps and ensuring proper measurements, you can effectively install the plumbing for your double sink setup. Remember to secure connections tightly and check for leaks to ensure smooth operation.
In summary, mastering the art of plumbing a double kitchen sink empowers you to customize your kitchen layout efficiently. With attention to detail and patience, you can achieve a well-functioning plumbing system that caters to your specific needs, making kitchen chores more manageable and enjoyable.