
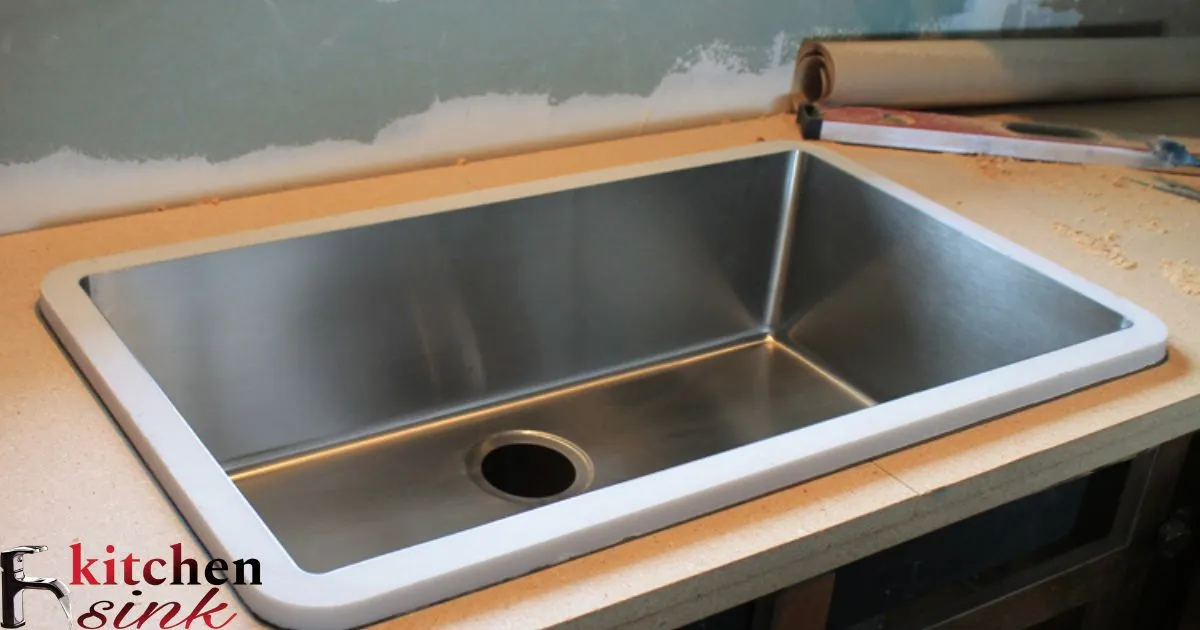
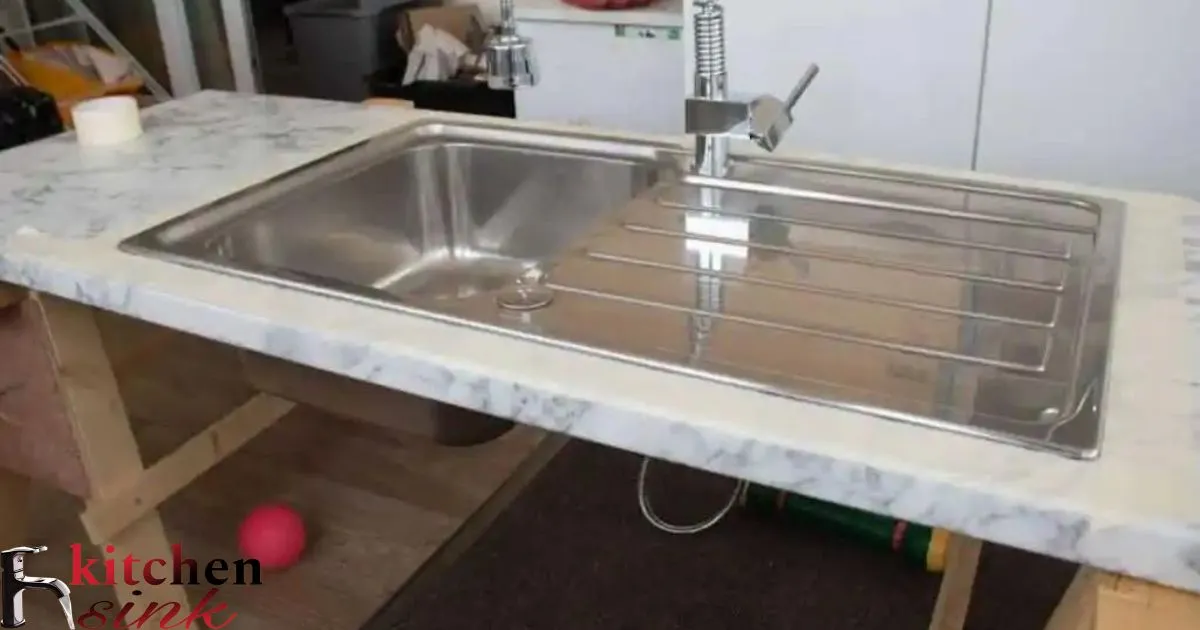
The kitchen sink to countertop refers to the process of installing a sink into a countertop surface. This involves cutting an opening in the countertop to fit the sink, securing it in place, and connecting plumbing fixtures for water supply and drainage.
Are you tired of dealing with leaks and water damage around your kitchen sink? Learn how to seal your kitchen sink to the countertop effortlessly. With just a few simple steps, you can ensure a watertight seal that prevents any future issues. Say goodbye to pesky leaks and hello to a secure kitchen workspace!
Learn the essential steps to create a secure seal between your kitchen sink and countertop. By following straightforward techniques, you can prevent leaks and maintain a tidy kitchen environment. Say goodbye to worries about water damage with this simple solution.
Water Get Behind The Kitchen Sink
Water can get behind the kitchen sink in a few different ways. A small gap is left between the sink and countertop during installation. Splashes and spills can easily enter this space. Over many years, standing water may slowly seep behind the sink from heavy uses. Regular use causes small movements that widen the gap.
Happens If Water Is Left Behind The Sink
If water is trapped behind the sink, problems will occur. Mold and mildew can grow in this hidden area with high moisture. Small amounts of standing water lead to bigger issues over time. The plywood or particle board under the sink starts to deteriorate when constantly wet. My Kitchen Sink Without Replacing The Countertop. This damages the structure and cabinetry below the counter.
Prevent Water Damage Under The Kitchen Sink
Applying a waterproof caulk or sealant prevents water from getting behind. Filling the gap between sink and counter creates a barrier. Inspecting the seal yearly lets you reapply before leaks form. Drying spills and splashes immediately stops water entering cracks. Good ventilation under the sink allows areas to fully dry out between uses.
Areas Need Sealing The Most Around The Kitchen Sink
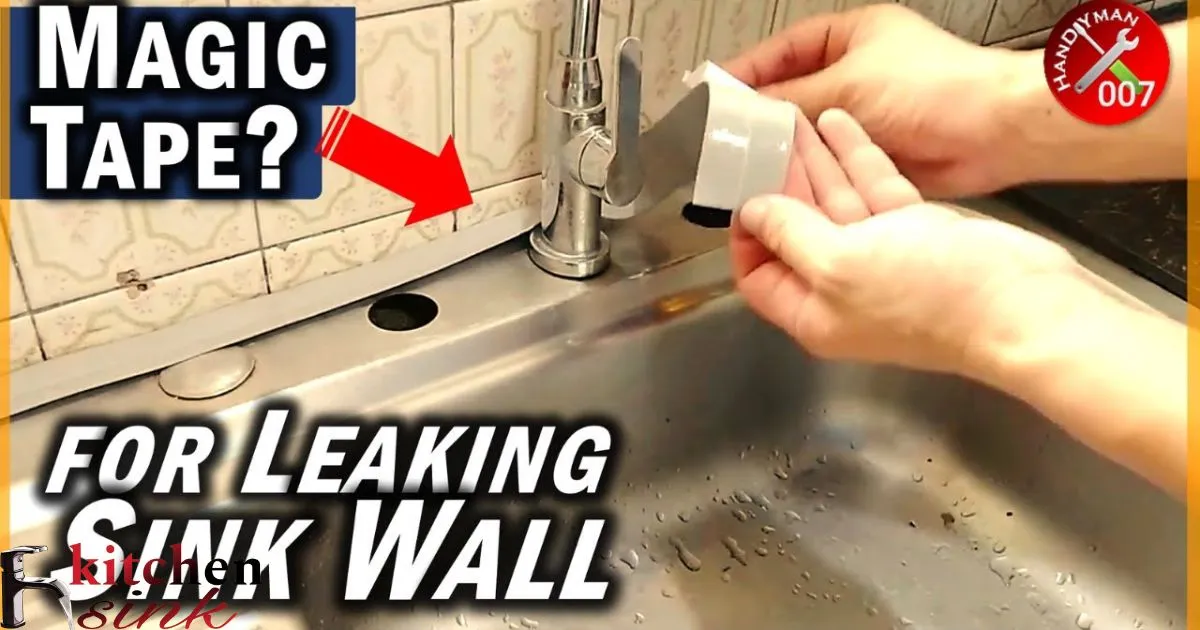
The top areas around the sink rim need the strongest seal. This is where splash damage happens most. The junction where the countertop meets the wall on both sides also requires sealing. Water can wick into these corner areas easily. The sink pipes and drain connections need watertight seals to avoid structural issues.
Products Work Best For Sealing Around The Kitchen Sink
Many products can create an effective seal around kitchen sinks. Silicone caulk sticks well and handles movement without cracking. 100% silicone varieties remain very flexible for years. Acrylic latex caulk provides a affordable option that dries quick. However, it may start to peel over time if the sink is moved.
Caulks Are Suitable For Sealing A Kitchen Sink
Only use caulks labeled for use in “wet areas” around sinks. General purpose caulk will not guarantee lasting protection. Look for mildew resistant silicone or acrylic latex varieties. 100% silicone is the most durable, flexible and waterproof choice for sinks. Acrylic latex works too, but requires reapplying more often.
Choose The Right Silicone Caulk For Your Kitchen Sink
- Check the temperature rating. Look for caulk rated for indoor use between -20 to 150 degrees Fahrenheit.
- Consider the mold and mildew resistance. Opt for caulk labeled as preventing the growth of mold and mildew.
- Inspect the flexibility. Choose a caulk that remains flexible over time and doesn’t crack.
- Examine the wet area approval. Make sure the caulk is suitable for use underwater or in wet environments.
- Review ease of use. Consider a caulk that’s easy to tool, smooth, and clean up.
- Compare price and value. Balance affordability with quality for a long-lasting seal.
Here is a table comparing some options for silicone caulk for kitchen sinks:
| Caulk Brand | Temperature Rating | Mold Resistance | Flexibility | Wet Area Approved | Ease of Use | Price |
| GE Silicone II | -80 to 400°F | Yes | Remains flexible | Yes | Easy to apply and tool | $5-7 |
| DAP Alex Plus | -58 to 300°F | Yes | Stays flexible | Yes | Smooth formula | $7-9 |
| Liquid Nails Heavy Duty | -40 to 300°F | Mold-resistant | Flexible bond | For wet areas | No-drip applicator | $8-10 |
| Loctite Kitchen & Bath | -40 to 350°F | Prevents growth | Flexes and stretches | Underwater use | Smooth spreading | $9-11 |
Acrylic Sealant Work As Well As Caulk Around The Kitchen Sink
While acrylic sealants create a water-tight barrier, they don’t last as long as silicone caulk around high-moisture sinks. Acrylic dries faster but is less flexible over time. It can shrink and crack with temperature changes. Acrylic works well for filling smaller gaps, but frequent resealing is needed to maintain a strong barrier against water damage compared to silicone caulk.
Other Sealants Are Used For Filling Gaps Around The Kitchen Sink
Some epoxy grouts and fills can be used for waterproof gap filling. They bond surfaces securely but require mixing. For most homeowners, caulk provides an easier solution. Plumber’s putty can fill irregular spaces temporarily but must be replenished yearly. Lay a bead of silicone caulk over any putty to form a more durable long-term seal.
Apply Sealant Around The Kitchen Sink Properly
Before applying caulk, clean and dry all surfaces first. Remove any old caulk residue. Lay down masking tape along the counter edges for neat lines. Caulk from the center of the sealing area and push into gaps using a caulking gun. Smooth with a wet finger for a clean appearance.
Surface Preparation Is Needed Before Sealing The Kitchen Sink
The area must be clean, dry and grease-free for proper adhesion. Wipe down the sink and counter thoroughly with mineral spirits. Allow to fully dry. Sand any glossy surfaces slightly to allow caulk to bond. Fill in any large gaps first with a backing material like foam backer rod.
Mask Around The Kitchen Sink For Clean Caulking Lines
Apply painter’s tape along the counter and sink edge, pressing it down firmly. Make sure the seam of the tape creates a crisp edge. Lay a strip of tape where the caulk line will be to protect surfaces. Smooth the tape with a credit card to create a defined straight edge for neat caulk application.
Correct Caulk Application Technique For The Kitchen Sink
Start in the center of the seam and squeeze caulk out steadily while pulling the nozzle along. Fill the entire gap without breaks. Use a wet finger or tool to smooth. Push caulk firmly into corners for watertight seals. Wipe excess caulk off surfaces with a damp cloth before it skins over.
Wait Before Using The Kitchen Sink After Sealing
Allow new caulk to cure fully before getting it wet, about 24 hours. Check manufacturer directions. During this time, keep the area dry and well ventilated. After full curing, the caulk forms a waterproof barrier able to withstand regular wet use.
Reseal Around The Kitchen Sink
Inspect seals yearly looking for cracks or peeling. Reapply caulk before leaks occur when signs of aging are visible. Silicone lasts 5+ years typically, but high use kitchen sinks may need resealing earlier. Acrylic seals may start splitting after 2 years and require more frequent reapplication.
Inspect The Kitchen Sink Caulk Lines
Check caulking at least once annually for cracks or gaps. Run your finger along seams during regular cleaning. Pay close attention after plumbing work as vibrations may have loosened areas. Reseal any signs of shrinkage or damage before water penetrates cracks extensively.
Signs Indicate It’s Time To Reseal The Kitchen Sink
5 easy to understand signs that indicate it’s time to reseal the kitchen sink
Cracks appear
Over time, the caulk seal around the kitchen sink will develop fine cracks as it dries out. This is one of the clearest signs it’s lost flexibility and water protection.
Peeling edges
The caulk may start peeling up, especially where it meets the countertop edge. This allows moisture to seep underneath.
Gaps form
Shrinkage causes small gaps to form between the caulk and surfaces. Water can now enter these spaces.
Caulk pulls away
Gently pulling on the caulk reveals it doesn’t adhere well anymore. It may pull up in small sections.
Counter warping
If water has caused unseen damage, the wood under the counter near the sink may start to bow or warp upwards visibly. Resealing is urgent.
Recaulking before leaks occur ensures ongoing protection of the cabinets and structure below the sink from water damage. Catching resealing needs early prevents costly repairs down the road.
Resealing The Kitchen Sink Disturb Existing Countertops
Recaulking a properly installed sink should not damage durable surfaces. Ensure new caulk bonds only to the sink and backer material, not the counter. Silicone caulk peels up cleanly without residue on most surfaces. Always test adhesion on a small inconspicuous area first.
Hard To Reseal Around An Existing Kitchen Sink
It’s quite easy with basic caulking skills. Clean and prep well first. Use a sharp utility knife to cut out old silicone in a clean line. Sand glossy surfaces slightly if needed. Fill gaps, smooth, then wipe. The process takes only 30 minutes or less for most sinks. Practice makes it quicker each time.
Tips For A Long-Lasting Seal Around The Kitchen Sink
When installing a new sink, apply a thick continuous bead of caulk and tool it smoothly. Look for 100% silicone varieties that flex with movement. Inspect seals yearly and reapply caulk on the first sign of shrinkage for continuous protection. Dry sink areas promptly to prevent moisture problems.
Ensure A Proper Seal That Lasts Around The Kitchen Sink
Take time to thoroughly clean and prepare surfaces before caulking. Apply caulk smoothly filling all gaps without breaks using properly labeled kitchen and bath caulk. Tool the caulk with a wet finger for a glossy seamless look. Inspect yearly and reseal professionally if cracks appear for long-term barrier protection.
Maintenance Keeps Your Kitchen Sink Seal In Good Condition
Wipe up spills right away so none remain splashing into crevices for extended periods. Clean caulk lines routinely to remove grime. Check seals thoroughly during annual sink cleaning. Reapply protectant like car wax to silicone caulk to prolong flexibility and lasting defense against leaks.
Repair A Failing Seal Around An Older Kitchen Sink
Remove any peeling or cracked caulk with a utility knife. Scrub surfaces clean and dry fully before applying fresh caulk. For larger gaps, reinforce the sealant bead with foam backer rod. Smooth newly applied caulk, then wipe clean. Reinspect repairs regularly until confident the refurbished seal will protect.
Prevent Future Leaks Around Your New Kitchen Sink Seal
Start by using the highest quality caulk for your project. Apply a generous, continuous bead that hides imperfections. Check the seal annually, reapplying sections that are cracked, dry or peeling. Immediately wipe spills and splashes to avoid prolonged exposure to standing water around the sink edge.
Frequently Asked Question
How Do You Seal Between Kitchen Sink And Countertop?
To seal between a kitchen sink and countertop, use silicone caulk applied along the edges for a waterproof barrier, ensuring a tight seal and preventing water damage.
What Kind Of Sealant For Kitchen Sink?
For kitchen sink sealing, use a waterproof silicone-based sealant suitable for kitchen surfaces.
How Do You Attach A Kitchen Sink To A Countertop?
To attach a kitchen sink to a countertop, use a caulking gun to apply adhesive around the sink’s edge, then secure it in place with clips or brackets provided, ensuring a snug fit for a sturdy installation.
What Is The Best Adhesive For Kitchen Sinks?
The best adhesive for kitchen sinks is a two-part epoxy specifically designed for bonding sinks to various surfaces. It offers strong and durable adhesion, ensuring a secure fit for your sink installation.
Conclusion
Sealing your kitchen sink to the countertop is a crucial step in maintaining a clean and hygienic kitchen. By properly sealing the area, you can prevent water damage, mold growth, and the accumulation of bacteria. Following a few simple steps outlined in this guide can ensure a secure and long-lasting bond between your sink and countertop, providing peace of mind and a functional kitchen space.
Remember, the key to a successful seal lies in thorough cleaning, applying the right adhesive or sealant, and allowing ample time for it to cure. With the proper technique and materials, you can effectively seal your kitchen sink to the countertop, enhancing both the aesthetics and functionality of your kitchen while safeguarding against potential issues in the future.