
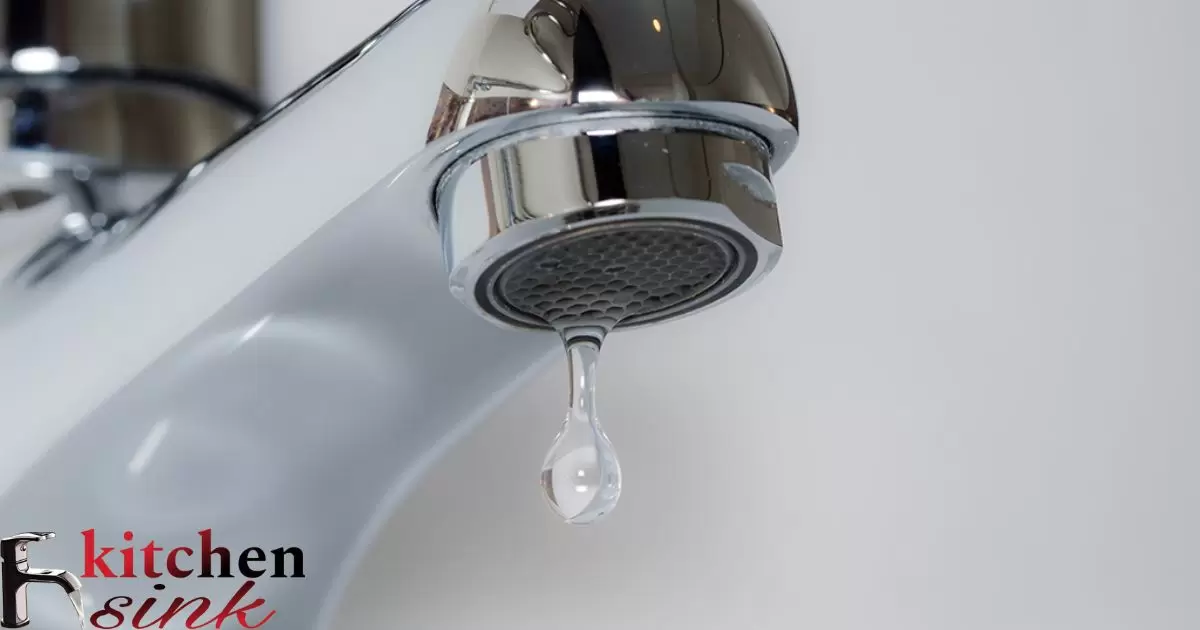
A kitchen sink that is dripping can be annoying and wasteful. When liquid escapes from the faucet in small drops that continuously fall into the basin, this is known as a dripping kitchen sink. The causes can be worn washers, loose connections or mineral buildup.
“Why Is My Kitchen Sink Dripping?” This is a question many homeowners have asked themselves. The steady pitter-patter of water drops at all hours can keep you awake at night and increase water bills. Finding the source of the problem is important to finally get some peace and quiet.
A dripping kitchen sink is often caused by small problems that are easy to identify and fix. Check that washers around the faucet are not cracked or deformed. Tighten any loose connections with wrenches. If mineral deposits have built up inside pipes over time, some light scrubbing may clear blockages. Addressing the underlying issues can put an end to the annoying dripping for good.
Causes Of A Dripping Kitchen Sink
A dripping kitchen sink can be caused by problems with the faucet or plumbing. The faucet uses washers that seal the water flow. Over time, washers can wear out and crack. Water then drips through instead of shutting off fully. Minerals in water supply also cause issues.
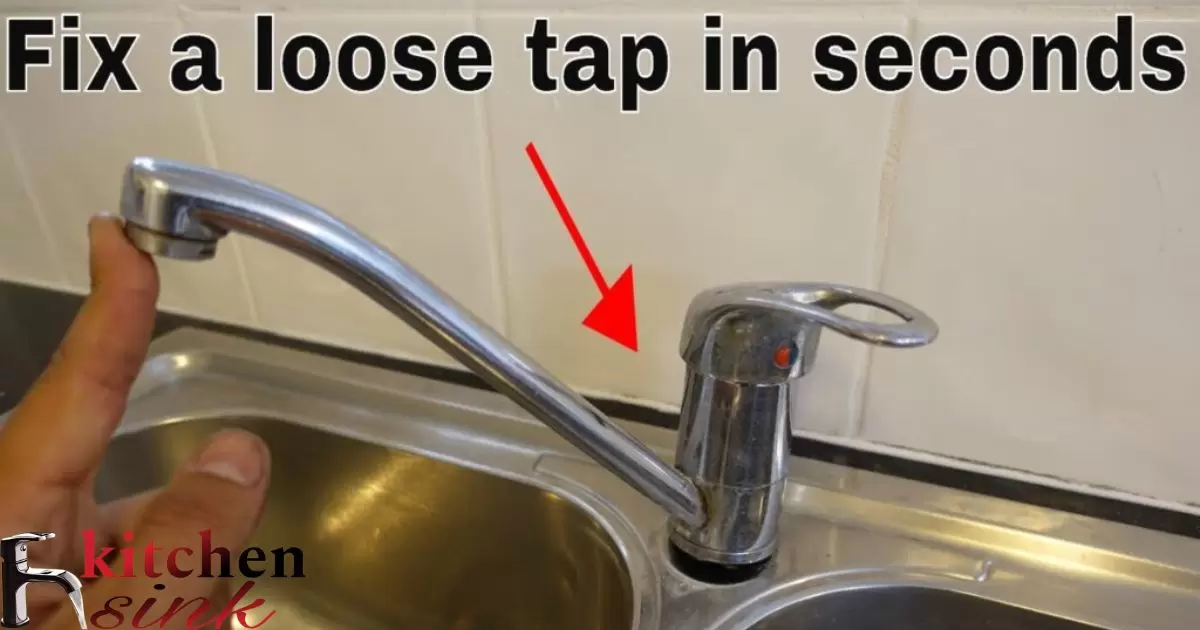
Another common cause is loose or damaged connections to the faucet. Regular use of the sink can weaken connections that hold pipes to the faucet body. When connections are no loose, water may leak through instead of flowing just through the spout. Problems in walls and under the sink with plumbing joints or pipes can similarly let water escape as dripping.
What Can Cause My Kitchen Sink Faucet To Drip?
The most frequent culprits are worn out washers and mineral buildup. Washers are rubber or plastic rings inside the faucet that seal the water flow. With daily use, washers slowly deteriorate and no longer fully close the line. Minerals crystallizing inside the faucet also cause issues. Over decades, a hard deposit forms and disrupts the seal.
Other potential causes include damage to the valves or cartridges that operate water flow. Debris stuck in the valve mechanism may prevent it from closing fully. In cold climates, freezing pipes can crack internal faucet components and create small leaks. Loose connections to the water supply lines underneath can similarly manifest as dripping.
Is It Time To Replace The Washers In My Kitchen Sink?
Washers typically last 3 to 5 years with regular use before developing leaks. Inspecting washers involves removing the faucet handle or cartridge. If washers look cracked, Best Gauge For A Kitchen Sink deeply grooved or flattened, it’s time to replacement. Washers that are slightly worn may still function for now with reseating.
Another sign is if dripping persists or worsens over time even after cleaning. This suggests washers have exceeded their lifespan. You may also notice lower water pressure if mineral buildup has hardened around washers. Schedule a washer replacement annually as preventative maintenance if leakage has not yet occurred.
Could Mineral Buildup Be Making My Kitchen Sink Faucet Drip?
Mineral deposits gradually accumulating inside faucets is very common. Hard water leaves residue each time it flows through pipes. Over 10-20 years, this builds up into a thick coating. Initially it may not affect function, but eventually minerals obstruct washers from sealing fully.
One way to check for this is turning the faucet way up high pressure. If water pressure is lower than expected, mineral coating inside is likely constricting the lines. You can also remove the faucet handle to visually inspect for hardened scale around or on the washers and valve mechanism. Heavy buildup signals need for cleaning before replacing parts.
How Can Problems With My Kitchen Sink Pipes Cause Dripping?
Issues beneath the sink with pipes can drip water above instead of only leaking externally. Connections to the faucet body or between pipes may become loose. Movement over time works joints apart slightly to lose their sealing. Cracks could also form in old rigid pipes subjected to vibrations and pressure changes.
Pipes secured through walls behind the sink cabinet too have connections. Wall penetrations sometimes crack over decades allowing small drips internally. In addition, drain pipes joining the sink could develop hairline leaks near the joint rather than the P-trap part visible under the sink.
Are There Any Leaks Or Loose Connections In My Kitchen Sink Plumbing?
Check all joints and connections beneath the sink. Give pipes and joints a gentle wiggling to identify any loose fittings. Avoid twisting too forcefully which could damage pipes further. Look also for telltale water stains around joints left by very minor leaks.
Leaks in rigid pipes usually occur at flexible connections, corners or joints to stress points. Inspect elbows and T-joints closely scraping off surface rust. Shine a flashlight inside wall penetrations to examine for cracks in the pipe or seal around it. Pay attention to drips falling audibly from above these suspect places.
What Should I Check Inside My Walls For A Dripping Kitchen Sink?
Walls behind most kitchen sinks have some plumbing hidden inside hollow wall cavities. Carefully remove any kick plates fixed below to peer up high. Shine a bright flashlight and look for water stains on wall or floor surfaces at pipe locations.
Minor plumbing leaks can take time cumulatively dripping into these void spaces unseen. While reattaching kick plates, push gently on nearby pipes within reach to check play. Consider hiring a plumber for internal wall inspection using a borescope camera if stains suggest a leak source in inaccessible areas. Early repairs prevent further damage requiring drywall repair work.
Fixing A Dripping Kitchen Faucet In The Kitchen Sink
Replacing worn parts is usually enough to stop a dripping kitchen faucet. The two main causes of washers and mineral buildup often require different solutions. Washers are inexpensive to replace yourself while scale buildup cleaning requires more effort.
How Do I Change The Washers In My Kitchen Sink Faucet?
Changing the washers involves shutting off the water supply lines below. Then use an adjustable wrench to loosen the mounting nuts. Remove the handle and lift out the cartridge that houses the washers.
Replace with identical new rubber washers that slide neatly back in. Reassemble everything carefully and tighten the nuts. Turn the water supply back on to test if the drip is now fixed.
What Types Of Washers Does My Kitchen Sink Faucet Take?
Washers for most single-handle pulldown kitchen faucets are thin, flat rubber gaskets that fit snugly inside a hollow cylindrical faucet cartridge. Some older two-handle faucets use thicker doughnut shaped washers instead.
To ensure correct replacement buy a faucet repair kit mentioning your brand and model for the right size and type of washers. Matching the original factory specs gives the best chance of stopping leaks.
Tools Will I Need To Replace The Washers In My Kitchen Sink
- Adjustable wrench – To loosen mounting nuts under the sink.
- Screwdrivers – Small flathead and Phillips head screwdrivers help remove handles or access screws.
- Mirror – A small mirror allows seeing in tight spaces under the sink for installation.
- Plumber’s tape – Thread sealing tape avoids leaks refass the nuts are tightened.
- Replacement washers – Buy a faucet repair kit containing new rubber or plastic washers that properly fit your model.
Replacing washers is an easy DIY job with just a few basic tools. An adjustable wrench is essential for loosening the nuts. Small screwdrivers aid handle removal. And a mirror lets you clearly see all angles under the sink for reassembly.
Clearing Mineral Buildup From My Kitchen Sink Faucet
Heavy mineral deposits cause faucets to function poorly and drip more. Removing scale buildup allows washers to seal correctly again. Natural cleaners work well without damaging components. Vinegar is inexpensive and suitable for most faucets. Baking soda can also be used and is gentler than abrasives.
Soak the problem areas overnight if deposits are severe. This softens minerals for easier removal. Use bottle brushes or pipe cleaners dipped in cleaner to scrub inside faucet passages. Flush thoroughly with clean water once scale is broken down. Repeat soaking and scrubbing if needed to achieve a like-new smooth surface.
What Products Can I Use To Remove Mineral Deposits From My Kitchen Sink Faucet?
White vinegar makes an effective and inexpensive mineral cleaner. Its acetic acid cuts through calcium, magnesium and other deposits that caused hard water buildup inside fixtures. Simply fill a plastic bag with vinegar and secure it over the faucet spout overnight.
For extra tough stains, make a paste from vinegar and baking soda which fizzes and bubbles as a natural abrasive. Commercial cleaners also work containing stronger acidity levels. Some specialty products even combine vinegar with other solvents like lemon juice or hydrogen peroxide to penetrate into crevices for deep cleaning.
Steps Should I Take To Flush Minerals From My Kitchen Sink Pipes
| Step | Action |
| 1 | Remove faucet handles to open pipe ends |
| 2 | Attach spray attachment to faucet shank |
| 3 | Turn on hot water full strength to flush minerals |
| 4 | Repeat with cold water to flush completely |
| 5 | Let cold water run for 5 minutes for deep cleaning |
| 6 | Check water flow for discoloration exiting pipes |
| 7 | Run water softener regeneration if available |
By following these easy steps, you can flush out mineral deposits clogging your kitchen sink pipes and restore optimal water flow from the faucet. Letting the hot and cold water surge through with a spray nozzle scours the interiors thoroughly.
Preventing Future Leaks In The Kitchen Sink
Regular maintenance keeps faucets and drains operating smoothly for many years. Small problems caught early forestall bigger issues needing costlier repairs down the road. Check fixtures monthly and fix anything loose or worn right away.
How Can I Protect My Kitchen Sink Plumbing From Future Issues?
Installing water treatment systems helps if your supply contains troublesome minerals. A water softener removes calcium and magnesium ions from flowing through pipes. Alternatively, inline filters capture deposits before they coat surfaces. Both methods defend fixtures from scale buildup slowing reoccurrence.
Consider using non-corrosive plumber’s grease on supply line connections besides Teflon tape. Over time, standard thread sealants can degrade allowing fittings to loosen imperceptibly. Grease acts as an additional barrier protecting vulnerable connection points in the plumbing system.
What Maintenance Can I Do To Prevent Problems With My Kitchen Sink Faucet?
After heavy mineral cleaning, wipe the faucet down monthly with a soft damp cloth to remove light mineral film. Twice yearly, remove the aerator screw on the faucet spout tip and rinse it under water. Mineral particles get trapped in mesh screens clogging flow regulating holes.
Inspect washers each fall before winter sets in. Cold temperatures put more stress on rubber components that could crack from freezing causing leaks to develop. Catching worn washers early avoids potential plumbing issues or damage during freezing weather.
Are There Any Warning Signs I Should Watch Out For In My Kitchen Sink?
Pay attention for signs of troubles to come like changes in water pressure or flow pattern from the faucet. Restricted streams or sprays indicate developing scale buildup inside. Steadily worsening drips from a previously fixed leak mean parts have worn down again.
Noisy water hammer effects, gurgling drain sounds or puddles under the sink cabinet also warn something needs attention. Don’t ignore these minor issues allowing small problems to mushroom before addressing root causes. Periodic inspection and prompt repair keeps plumbing healthy.
Frequently Asked Question
What Causes A Kitchen Sink Faucet To Drip?
Worn washers or mineral deposits blocking seals in the faucet are common causes.
How Do I Know If It’s Time For New Washers?
Inspect washers for cracks, flattening or deep grooves which signal the end of their lifespan.
What’s The Easiest Way To Remove Mineral Deposits?
Soaking problem areas in white vinegar is a very effective and inexpensive mineral cleaner.
When Should I Replace Supply Lines Underneath?
If lines are original and 25 years old or more, it’s wise to proactively replace corroded galvanized steel pipes.
What Maintenance Prevents Future Dripping?
Inspect faucets monthly, clean aerators twice a year and replace washers before winter to catch small issues before they worsen.
Conclusion
Identifying and addressing the underlying causes of a dripping kitchen sink is essential to restoring peace and quiet. With some basic tools and inexpensive replacement parts, homeowners can easily fix common problems themselves such as worn washers or mineral buildup.
Regular monthly checks allow catching small issues before they escalate into bigger repairs. Following simple steps like wiping down the faucet, cleaning aerators and replacing washers before winter goes a long way in preventing future dripping from developing. By being proactive in maintenance.
Meta Description
Why Is My Kitchen Sink Dripping?
A kitchen sink that is dripping can be annoying and wasteful. When liquid escapes from the faucet in small drops that continuously fall into the basin, this is known as a dripping kitchen sink. The causes can be worn washers, loose connections or mineral buildup.
“Why Is My Kitchen Sink Dripping?” This is a question many homeowners have asked themselves. The steady pitter-patter of water drops at all hours can keep you awake at night and increase water bills. Finding the source of the problem is important to finally get some peace and quiet.
A dripping kitchen sink is often caused by small problems that are easy to identify and fix. Check that washers around the faucet are not cracked or deformed. Tighten any loose connections with wrenches. If mineral deposits have built up inside pipes over time, some light scrubbing may clear blockages. Addressing the underlying issues can put an end to the annoying dripping for good.
Causes Of A Dripping Kitchen Sink
A dripping kitchen sink can be caused by problems with the faucet or plumbing. The faucet uses washers that seal the water flow. Over time, washers can wear out and crack. Water then drips through instead of shutting off fully. Minerals in water supply also cause issues.
Another common cause is loose or damaged connections to the faucet. Regular use of the sink can weaken connections that hold pipes to the faucet body. When connections are no loose, water may leak through instead of flowing just through the spout. Problems in walls and under the sink with plumbing joints or pipes can similarly let water escape as dripping.
What Can Cause My Kitchen Sink Faucet To Drip?
The most frequent culprits are worn out washers and mineral buildup. Washers are rubber or plastic rings inside the faucet that seal the water flow. With daily use, washers slowly deteriorate and no longer fully close the line. Minerals crystallizing inside the faucet also cause issues. Over decades, a hard deposit forms and disrupts the seal.
Other potential causes include damage to the valves or cartridges that operate water flow. Debris stuck in the valve mechanism may prevent it from closing fully. In cold climates, freezing pipes can crack internal faucet components and create small leaks. Loose connections to the water supply lines underneath can similarly manifest as dripping.
Is It Time To Replace The Washers In My Kitchen Sink?
Washers typically last 3 to 5 years with regular use before developing leaks. Inspecting washers involves removing the faucet handle or cartridge. If washers look cracked, deeply grooved or flattened, it’s time to replacement. Washers that are slightly worn may still function for now with reseating.
Another sign is if dripping persists or worsens over time even after cleaning. This suggests washers have exceeded their lifespan. You may also notice lower water pressure if mineral buildup has hardened around washers. Schedule a washer replacement annually as preventative maintenance if leakage has not yet occurred.
Could Mineral Buildup Be Making My Kitchen Sink Faucet Drip?
Mineral deposits gradually accumulating inside faucets is very common. Hard water leaves residue each time it flows through pipes. Over 10-20 years, this builds up into a thick coating. Initially it may not affect function, but eventually minerals obstruct washers from sealing fully.
One way to check for this is turning the faucet way up high pressure. If water pressure is lower than expected, mineral coating inside is likely constricting the lines. You can also remove the faucet handle to visually inspect for hardened scale around or on the washers and valve mechanism. Heavy buildup signals need for cleaning before replacing parts.
How Can Problems With My Kitchen Sink Pipes Cause Dripping?
Issues beneath the sink with pipes can drip water above instead of only leaking externally. Connections to the faucet body or between pipes may become loose. Movement over time works joints apart slightly to lose their sealing. Cracks could also form in old rigid pipes subjected to vibrations and pressure changes.
Pipes secured through walls behind the sink cabinet too have connections. Wall penetrations sometimes crack over decades allowing small drips internally. In addition, drain pipes joining the sink could develop hairline leaks near the joint rather than the P-trap part visible under the sink.
Are There Any Leaks Or Loose Connections In My Kitchen Sink Plumbing?
Check all joints and connections beneath the sink. Give pipes and joints a gentle wiggling to identify any loose fittings. Avoid twisting too forcefully which could damage pipes further. Look also for telltale water stains around joints left by very minor leaks.
Leaks in rigid pipes usually occur at flexible connections, corners or joints to stress points. Inspect elbows and T-joints closely scraping off surface rust. Shine a flashlight inside wall penetrations to examine for cracks in the pipe or seal around it. Pay attention to drips falling audibly from above these suspect places.
What Should I Check Inside My Walls For A Dripping Kitchen Sink?
Walls behind most kitchen sinks have some plumbing hidden inside hollow wall cavities. Carefully remove any kick plates fixed below to peer up high. Shine a bright flashlight and look for water stains on wall or floor surfaces at pipe locations.
Minor plumbing leaks can take time cumulatively dripping into these void spaces unseen. While reattaching kick plates, push gently on nearby pipes within reach to check play. Consider hiring a plumber for internal wall inspection using a borescope camera if stains suggest a leak source in inaccessible areas. Early repairs prevent further damage requiring drywall repair work.
Fixing A Dripping Kitchen Faucet In The Kitchen Sink
Replacing worn parts is usually enough to stop a dripping kitchen faucet. The two main causes of washers and mineral buildup often require different solutions. Washers are inexpensive to replace yourself while scale buildup cleaning requires more effort.
How Do I Change The Washers In My Kitchen Sink Faucet?
Changing the washers involves shutting off the water supply lines below. Then use an adjustable wrench to loosen the mounting nuts. Remove the handle and lift out the cartridge that houses the washers.
Replace with identical new rubber washers that slide neatly back in. Reassemble everything carefully and tighten the nuts. Turn the water supply back on to test if the drip is now fixed.
What Types Of Washers Does My Kitchen Sink Faucet Take?
Washers for most single-handle pulldown kitchen faucets are thin, flat rubber gaskets that fit snugly inside a hollow cylindrical faucet cartridge. Some older two-handle faucets use thicker doughnut shaped washers instead.
To ensure correct replacement buy a faucet repair kit mentioning your brand and model for the right size and type of washers. Matching the original factory specs gives the best chance of stopping leaks.
Tools Will I Need To Replace The Washers In My Kitchen Sink
- Adjustable wrench – To loosen mounting nuts under the sink.
- Screwdrivers – Small flathead and Phillips head screwdrivers help remove handles or access screws.
- Mirror – A small mirror allows seeing in tight spaces under the sink for installation.
- Plumber’s tape – Thread sealing tape avoids leaks refass the nuts are tightened.
- Replacement washers – Buy a faucet repair kit containing new rubber or plastic washers that properly fit your model.
Replacing washers is an easy DIY job with just a few basic tools. An adjustable wrench is essential for loosening the nuts. Small screwdrivers aid handle removal. And a mirror lets you clearly see all angles under the sink for reassembly.
Clearing Mineral Buildup From My Kitchen Sink Faucet
Heavy mineral deposits cause faucets to function poorly and drip more. Removing scale buildup allows washers to seal correctly again. Natural cleaners work well without damaging components. Vinegar is inexpensive and suitable for most faucets. Baking soda can also be used and is gentler than abrasives.
Soak the problem areas overnight if deposits are severe. This softens minerals for easier removal. Use bottle brushes or pipe cleaners dipped in cleaner to scrub inside faucet passages. Flush thoroughly with clean water once scale is broken down. Repeat soaking and scrubbing if needed to achieve a like-new smooth surface.
What Products Can I Use To Remove Mineral Deposits From My Kitchen Sink Faucet?
White vinegar makes an effective and inexpensive mineral cleaner. Its acetic acid cuts through calcium, magnesium and other deposits that caused hard water buildup inside fixtures. Simply fill a plastic bag with vinegar and secure it over the faucet spout overnight.
For extra tough stains, make a paste from vinegar and baking soda which fizzes and bubbles as a natural abrasive. Commercial cleaners also work containing stronger acidity levels. Some specialty products even combine vinegar with other solvents like lemon juice or hydrogen peroxide to penetrate into crevices for deep cleaning.
Steps Should I Take To Flush Minerals From My Kitchen Sink Pipes
| Step | Action |
| 1 | Remove faucet handles to open pipe ends |
| 2 | Attach spray attachment to faucet shank |
| 3 | Turn on hot water full strength to flush minerals |
| 4 | Repeat with cold water to flush completely |
| 5 | Let cold water run for 5 minutes for deep cleaning |
| 6 | Check water flow for discoloration exiting pipes |
| 7 | Run water softener regeneration if available |
By following these easy steps, you can flush out mineral deposits clogging your kitchen sink pipes and restore optimal water flow from the faucet. Letting the hot and cold water surge through with a spray nozzle scours the interiors thoroughly.
Preventing Future Leaks In The Kitchen Sink
Regular maintenance keeps faucets and drains operating smoothly for many years. Small problems caught early forestall bigger issues needing costlier repairs down the road. Check fixtures monthly and fix anything loose or worn right away.
How Can I Protect My Kitchen Sink Plumbing From Future Issues?
Installing water treatment systems helps if your supply contains troublesome minerals. A water softener removes calcium and magnesium ions from flowing through pipes. Alternatively, inline filters capture deposits before they coat surfaces. Both methods defend fixtures from scale buildup slowing reoccurrence.
Consider using non-corrosive plumber’s grease on supply line connections besides Teflon tape. Over time, standard thread sealants can degrade allowing fittings to loosen imperceptibly. Grease acts as an additional barrier protecting vulnerable connection points in the plumbing system.
What Maintenance Can I Do To Prevent Problems With My Kitchen Sink Faucet?
After heavy mineral cleaning, wipe the faucet down monthly with a soft damp cloth to remove light mineral film. Twice yearly, remove the aerator screw on the faucet spout tip and rinse it under water. Mineral particles get trapped in mesh screens clogging flow regulating holes.
Inspect washers each fall before winter sets in. Cold temperatures put more stress on rubber components that could crack from freezing causing leaks to develop. Catching worn washers early avoids potential plumbing issues or damage during freezing weather.
Are There Any Warning Signs I Should Watch Out For In My Kitchen Sink?
Pay attention for signs of troubles to come like changes in water pressure or flow pattern from the faucet. Restricted streams or sprays indicate developing scale buildup inside. Steadily worsening drips from a previously fixed leak mean parts have worn down again.
Noisy water hammer effects, gurgling drain sounds or puddles under the sink cabinet also warn something needs attention. Don’t ignore these minor issues allowing small problems to mushroom before addressing root causes. Periodic inspection and prompt repair keeps plumbing healthy.
Frequently Asked Question
What Causes A Kitchen Sink Faucet To Drip?
Worn washers or mineral deposits blocking seals in the faucet are common causes.
How Do I Know If It’s Time For New Washers?
Inspect washers for cracks, flattening or deep grooves which signal the end of their lifespan.
What’s The Easiest Way To Remove Mineral Deposits?
Soaking problem areas in white vinegar is a very effective and inexpensive mineral cleaner.
When Should I Replace Supply Lines Underneath?
If lines are original and 25 years old or more, it’s wise to proactively replace corroded galvanized steel pipes.
What Maintenance Prevents Future Dripping?
Inspect faucets monthly, clean aerators twice a year and replace washers before winter to catch small issues before they worsen.
Conclusion
Identifying and addressing the underlying causes of a dripping kitchen sink is essential to restoring peace and quiet. With some basic tools and inexpensive replacement parts, homeowners can easily fix common problems themselves such as worn washers or mineral buildup.
Regular monthly checks allow catching small issues before they escalate into bigger repairs. Following simple steps like wiping down the faucet, cleaning aerators and replacing washers before winter goes a long way in preventing future dripping from developing. By being proactive in maintenance.